Hey, it’s me again.
I wanted to write something technical today, and I figured out why not tell you how I created the blog.
Creating the server
I decided to use Amazon Web Services as my VPS provider.
Using AWS Lightsail you have a free month trial and the small instance which is really fine for a blog costs only US$ 3.50 a month for 1 vCPU, 512 MB RAM and 20 GB SSD Storage.
- Log in to AWS Lightsail and create an account if you don’t have one. (Requires credit card)
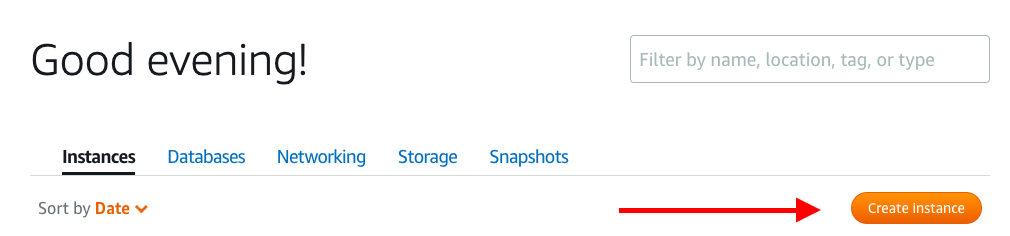
- Once you have created your account and are logged in to lightsail is time for creating the instance. Click create instance.
- Then we will have to select the settings of the VM we are creating:
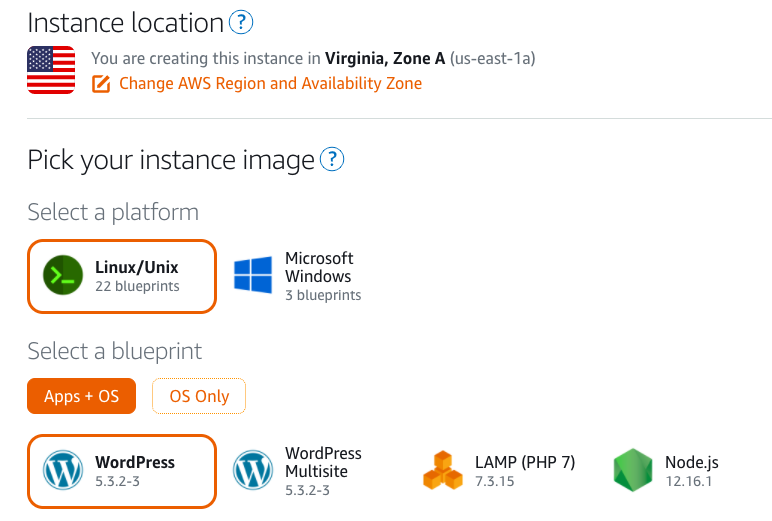
Select Linux/Unix as the platform and WordPress as the App+OS - After that we will have to select the Instance Plan
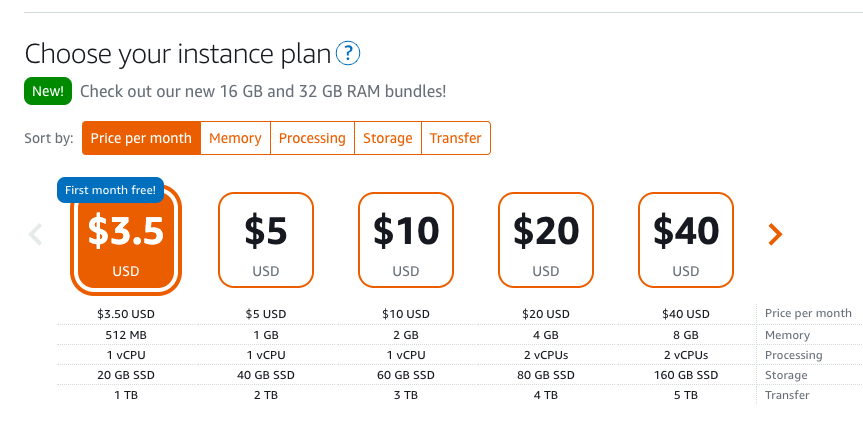
By default there is a 512 MB RAM, 1 vCPU and 20GB SSD VM selected, we will keep that option for this tutorial. - We will set an instance name and create the instance.
In this case I have named my instance TestInstance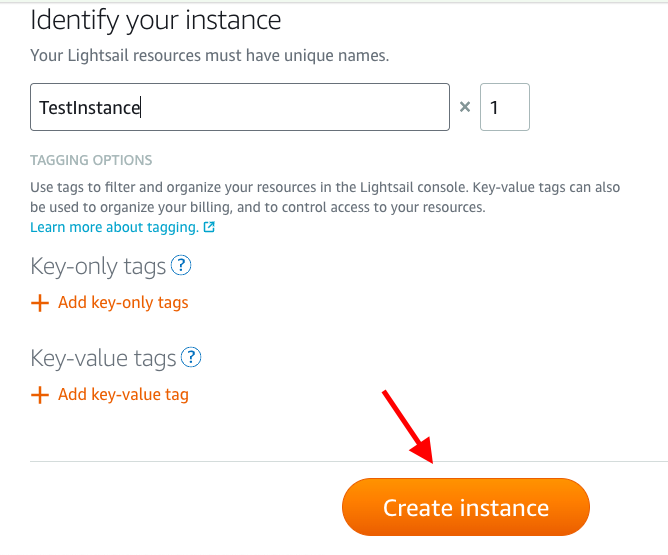
- Then we will create a Public IP for the server.
We will click Networking and click create Static IP.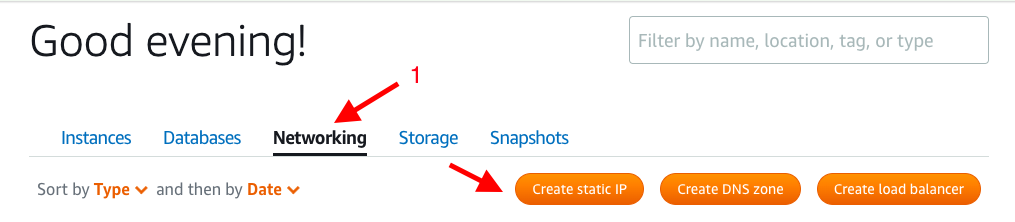
- Then we will need to attach the Static IP to an instance.
As you can see I have attached TestInstance and named the Static IP test-stip2.
Then I have clicked create.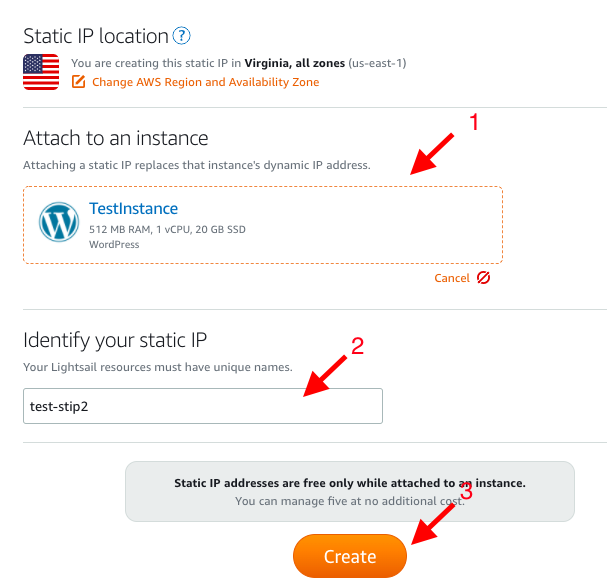
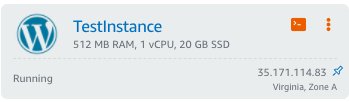
- We have successfully created our WordPress server.
Now we’ll have to make some extra configurations. But before that, let’s make sure the instance is working. - Check the instance is working:
On your preferred browser type https://$INSTANCEIPADDRESS/wp-admin
In my case https://35.171.114.83/wp-admin
Getting WordPress password
To get the password that will grant us access to WordPress we will need to do the following:
- Launch VM console
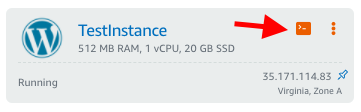
- Once the console is open you will need to run this command:
$HOME/bitnami_application_password - You might get the following error:
-bash: /home/bitnami/bitnami_application_password: Permission denied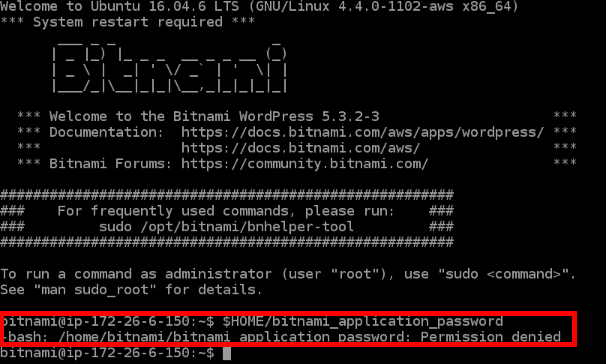
- In that case what we will need to do is:
chmod +755 bitnami_application_password
We will still get an error, but the error code will have the password output.
Make sure to copy that password somewhere safe. - Check if the password works
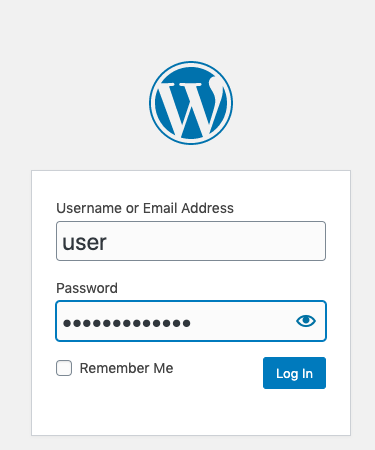
- If the password works you will be redirected to the WordPress Admin dashboard.
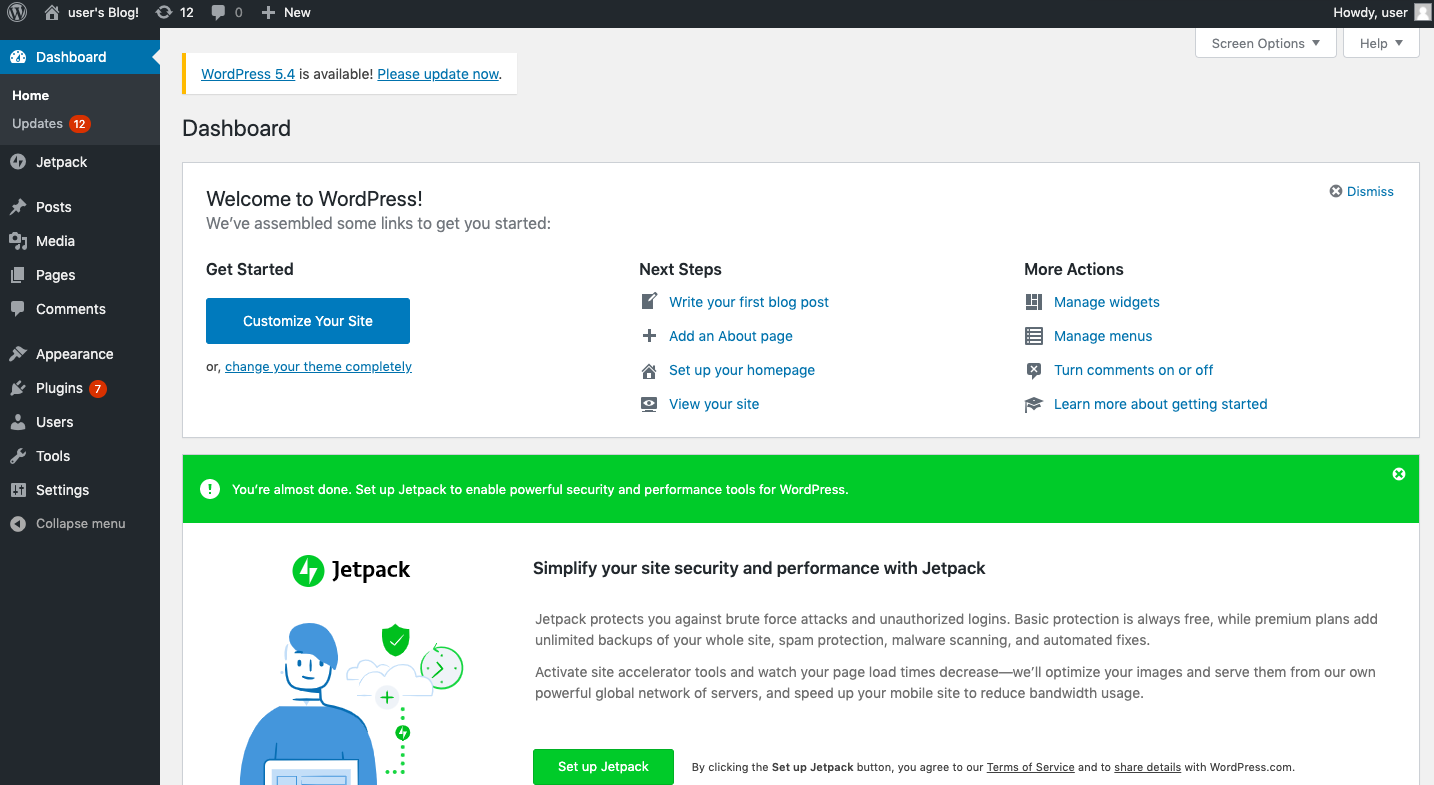
Congratulations, you have a working wordpress site! Configure it as you like.
Now we have to configure name resolution for the public, I’ll show you how to here.